Candle-making is more than just a craft; it’s an art form that allows individuals to express their creativity while creating something practical and beautiful. Whether you’re drawn to the soothing glow of candles or the therapeutic process of crafting them, learning the basics of candle making is an enriching journey. In this beginner’s guide, we’ll explore the fundamental steps, materials, and techniques involved in creating your own candles.
The Basics
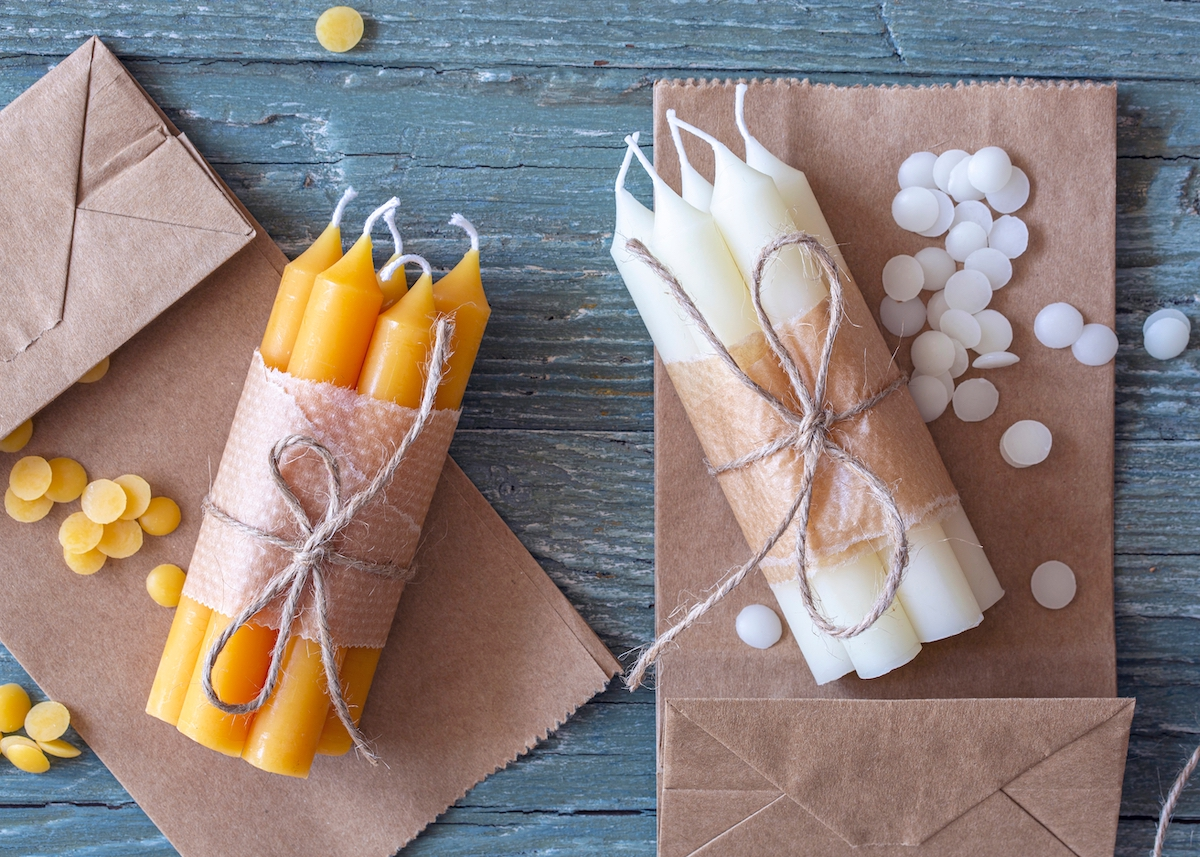
Before looking into candle making, it’s essential to understand the basic components of a candle. At its core, a candle consists of wax, a wick, and a fragrance (optional). The qualities of your candle, like its burn time, fragrance throw, and look, will depend on the type of wax you select. Common types of wax include paraffin, soy, beeswax, and palm wax. Each wax has its unique qualities, making it suitable for different types of candles.
Gathering Materials
Once you’ve familiarised yourself with the basics, it’s time to gather your materials. You will also need wax, wicks, containers for your candles, a double boiler or melting pot, a thermometer, and fragrance or essential oils if desired. It’s essential to use heat-resistant containers specifically designed for candle-making to ensure safety during the pouring and burning process.
Melting And Pouring
Melting the wax is the first step in the candle-making process. Utilise a double boiler or melting saucepan to preheat the wax to the appropriate temperature, which varies by type but is typically between 160°F and 180°F (71°C and 82°C). In order to keep the wax from overheating and catching fire, it is imperative that the temperature be regularly monitored.
Once the wax reaches the desired temperature, remove it from the heat source and add fragrance oils or essential oils if desired. Stir the mixture gently to ensure the fragrance is evenly distributed throughout the wax.
Next, get your containers ready by using hot glue or wick stickers to secure the wicks in the middle. Carefully pour the wax into the containers, leaving a small amount of space at the top. Before proceeding to the following stage, let the candles cool and solidify entirely.
Finishing Touches
Once your candles have cooled and hardened, it’s time to trim the wicks to the desired length, typically around ¼ inch (0.6 cm). Trimming the wicks helps ensure a clean, even burn and prevents smoking or excessive soot buildup.
You can further personalise your candles by adorning them with glitter, dried flowers, or herbs. Be creative and experiment with different embellishments to achieve the desired aesthetic for your candles.
Safety Tips
While candle-making is a rewarding and enjoyable hobby, it’s essential to prioritise safety at all times. Here are some safety tips to keep in mind:
- Always melt wax in a well-ventilated area away from flammable objects.
- Melting wax can readily catch fire, so never leave it unattended.
- Use caution when handling hot wax and pouring vessels to avoid burns.
- Keep a fire extinguisher nearby in case of emergencies.
- Melted wax can clog pipes, so never dump it down the drain.
Conclusion
Starting a candle-making business is a rewarding experience that lets you use your imagination to create something useful and lovely. By mastering the basics of candle making, you can enjoy the therapeutic process of crafting candles while filling your space with warmth and ambience. Whether you’re making candles for personal use or as gifts for loved ones, the possibilities are endless. So gather your supplies, light a fire under your enthusiasm, and let your imagination run wild in each and every candle you make.