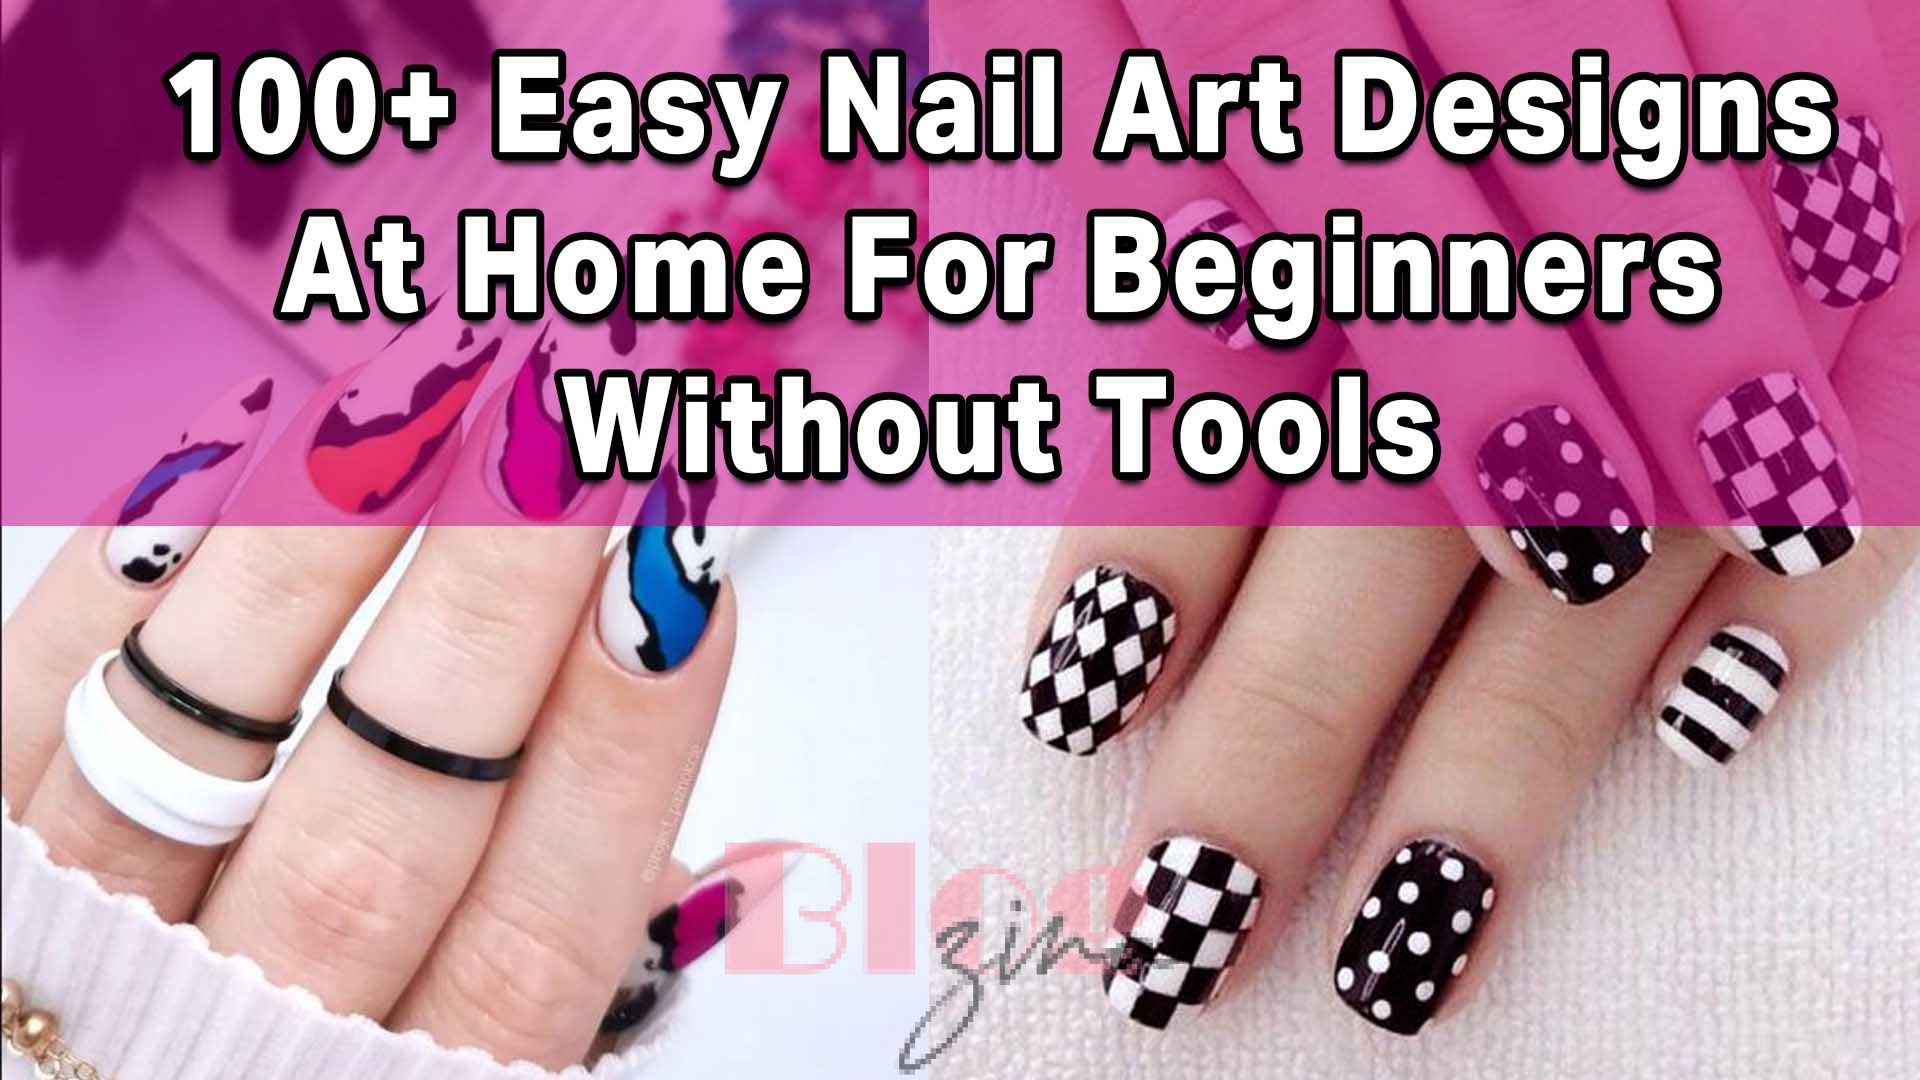
Welcome to the world of nail art! If you’ve always admired those stunning nail designs but thought they were too complicated or required expensive tools, think again. Today, we’ll show you how to create easy nail art designs at home for beginners without tools. Nail art is a form of self-expression and a fantastic way to unleash your creativity. So, let’s dive in and give your nails a delightful makeover.
Why Nail Art?
Nail art has become a beloved form of artistic expression. It’s a way to make a statement, match your nails to your outfit, or showcase your personality. Nail art offers endless possibilities, whether you’re into bold, eye-catching designs or subtle, elegant ones. Plus, it’s an enjoyable and therapeutic activity.
Easy Nail Art Designs At Home For Beginners Without Tools
Don’t be discouraged if you’re new to nail art; we’ve got you covered. The designs we’ll explore are specifically tailored for beginners, and the best part is you won’t need any fancy tools. These designs are simple, yet they make a significant impact. So, let’s get started!
Preparing Your Nails
Before diving into the creative process, ensuring your nails are in good shape is essential. Begin by trimming them to your desired length. Then, use a gentle nail file to shape them, ensuring they’re free from rough edges. Cleanliness is key, so ensure your nails are free from old polish.

Basic Nail Art Techniques
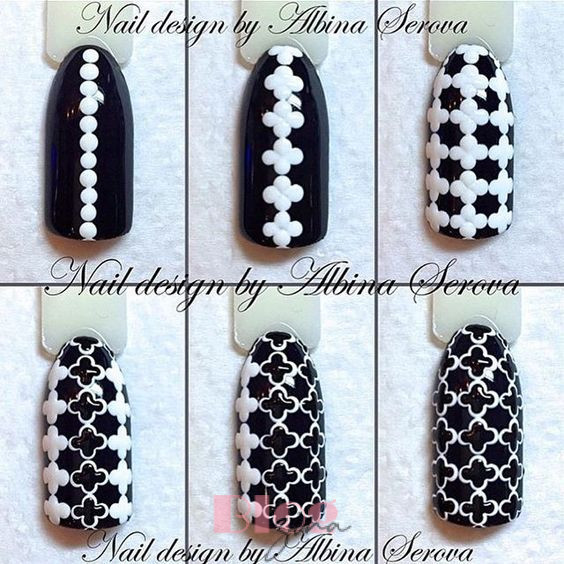
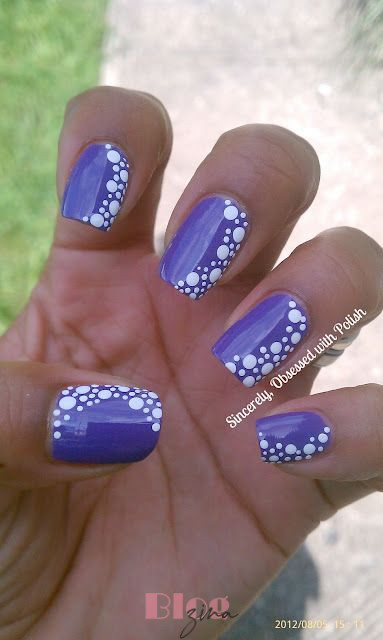
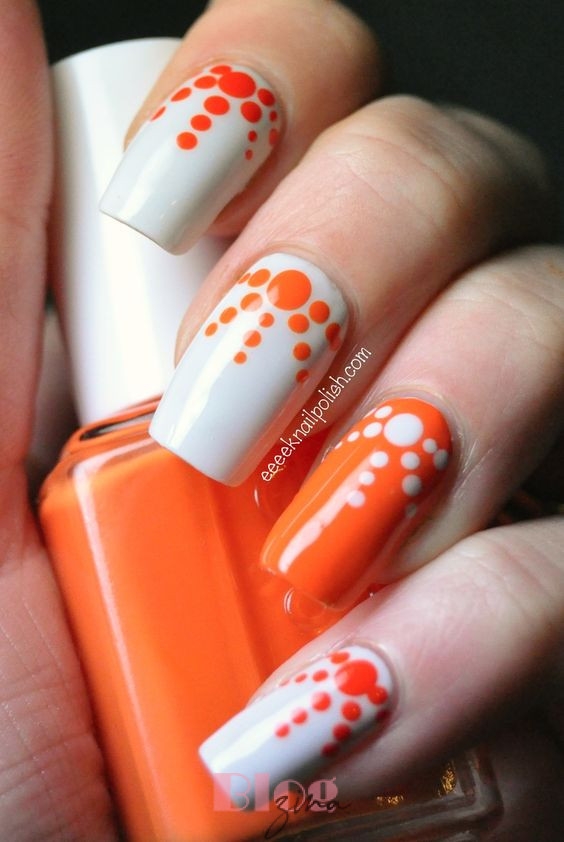
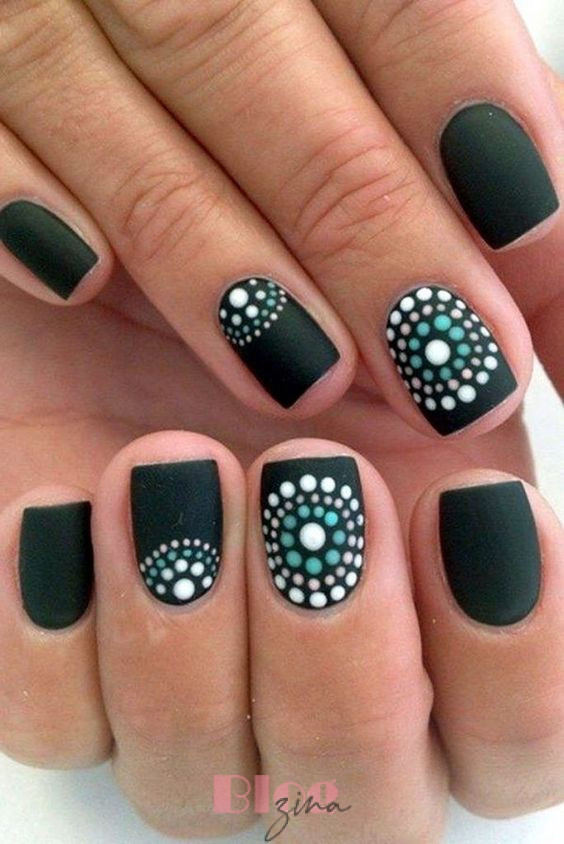
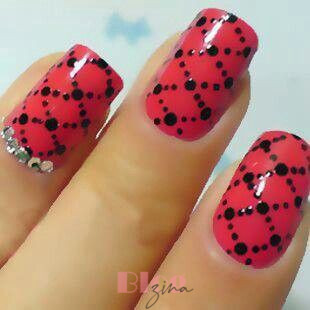
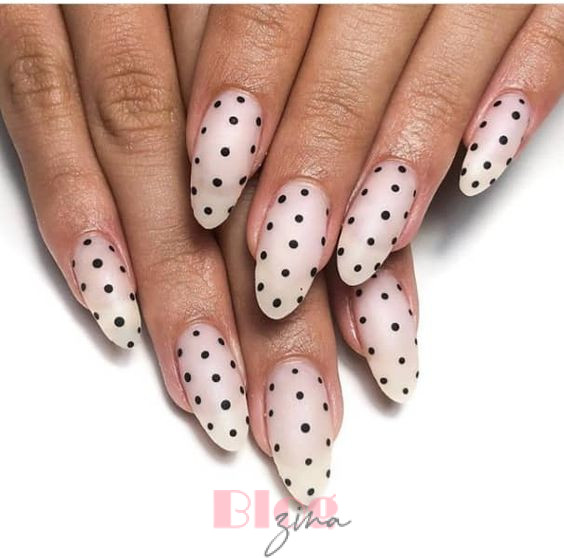
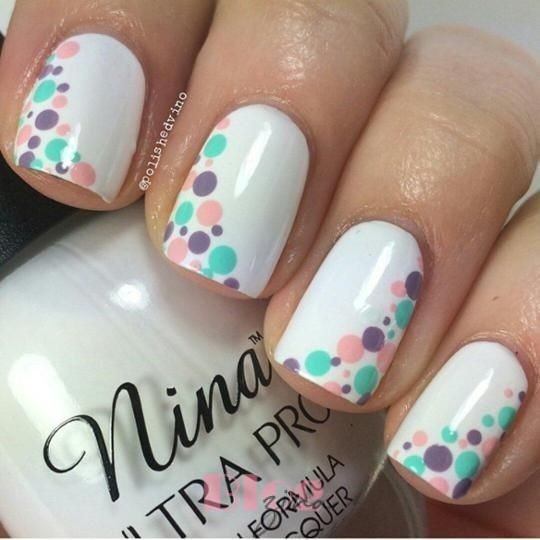
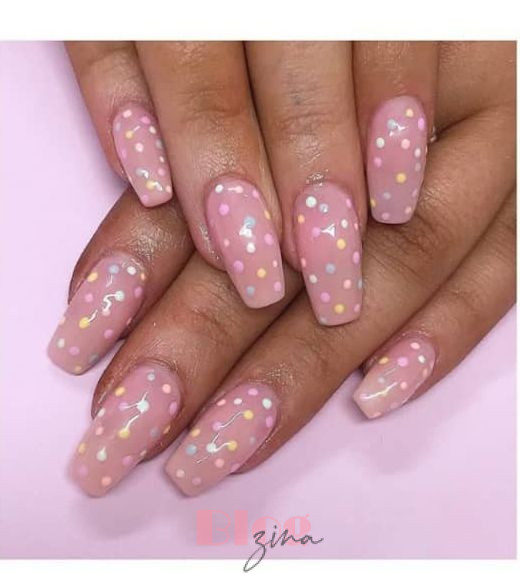
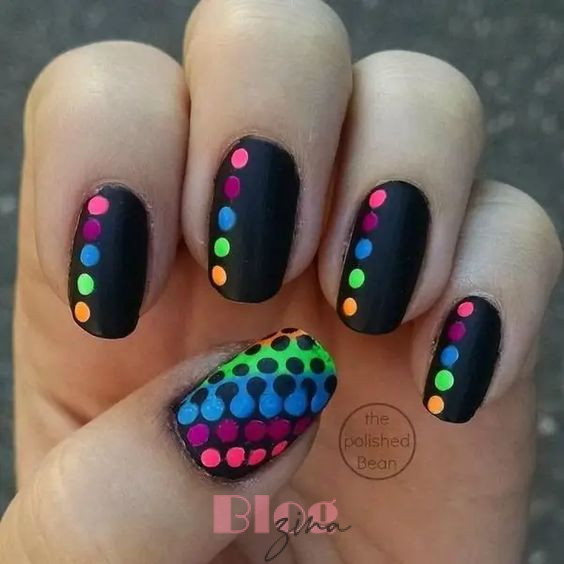
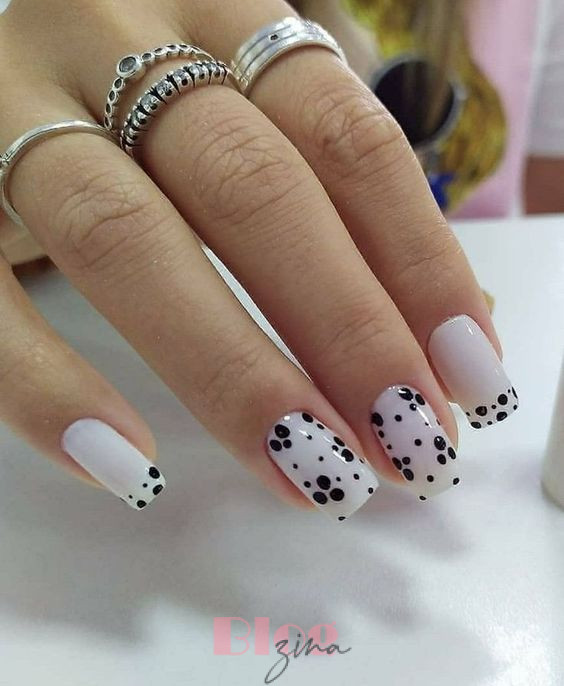
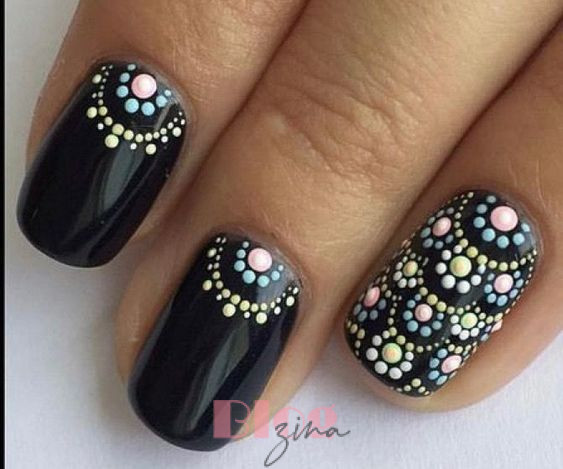
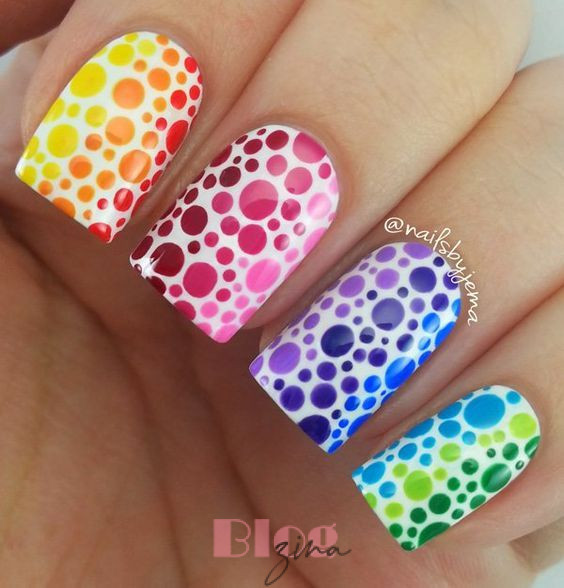
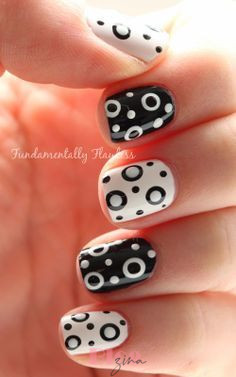
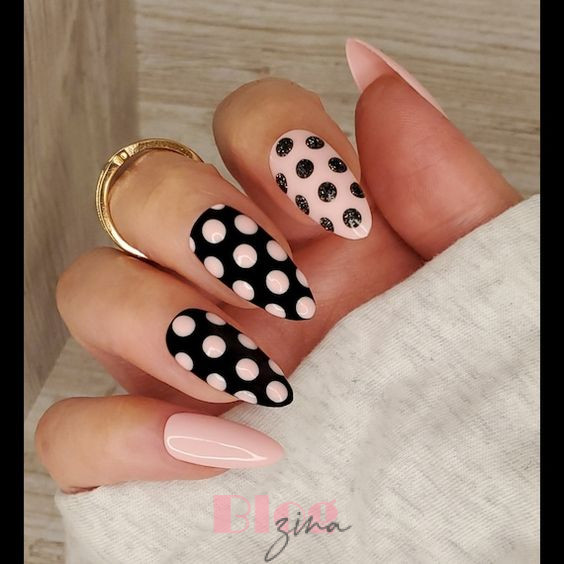
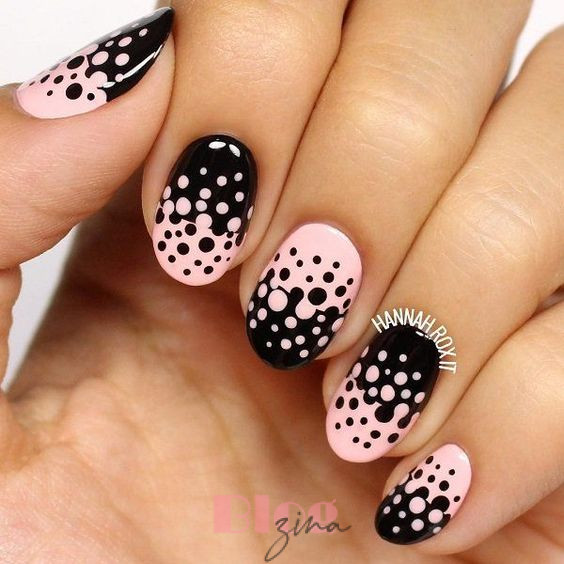
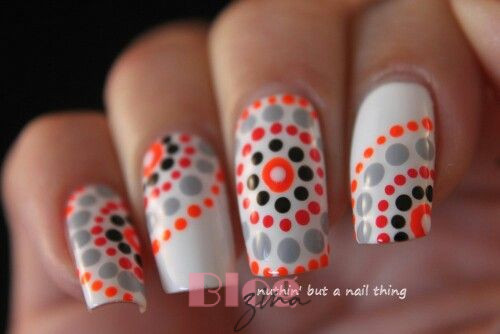
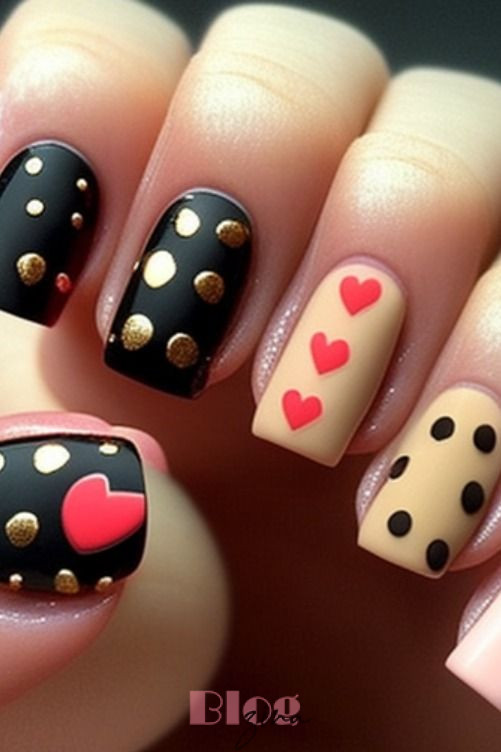
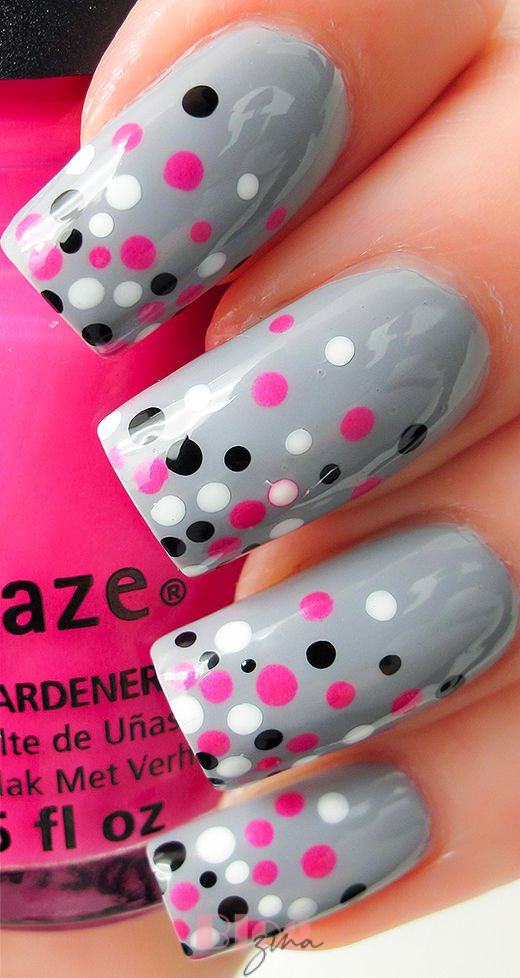
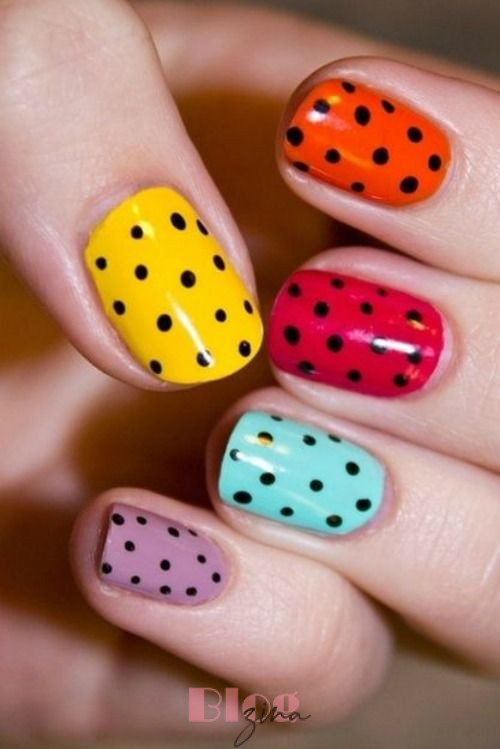
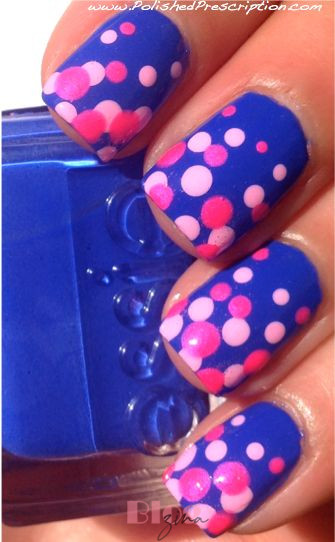
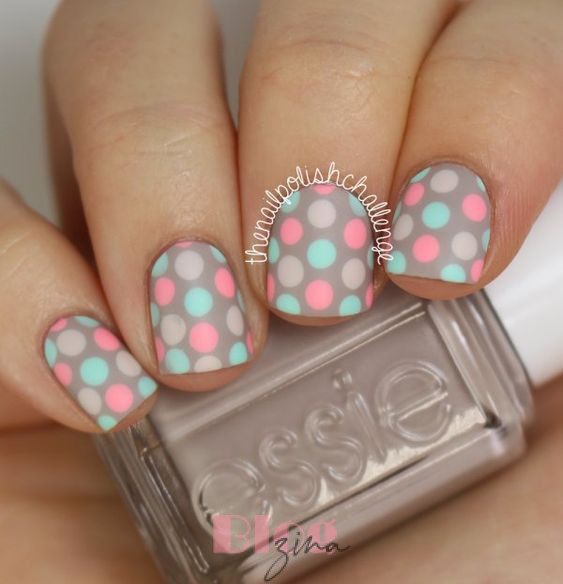
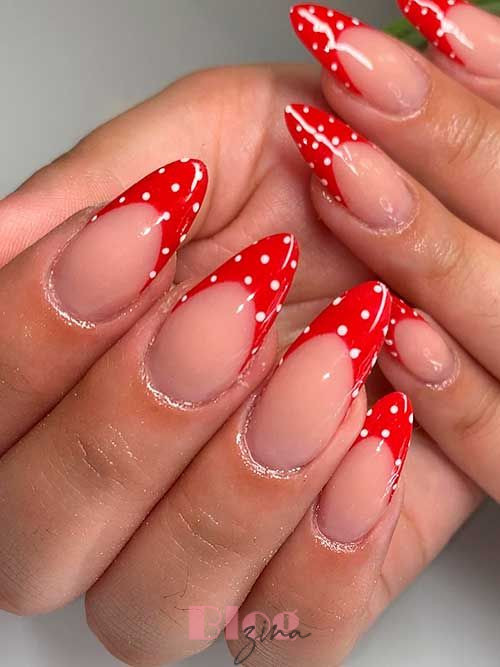
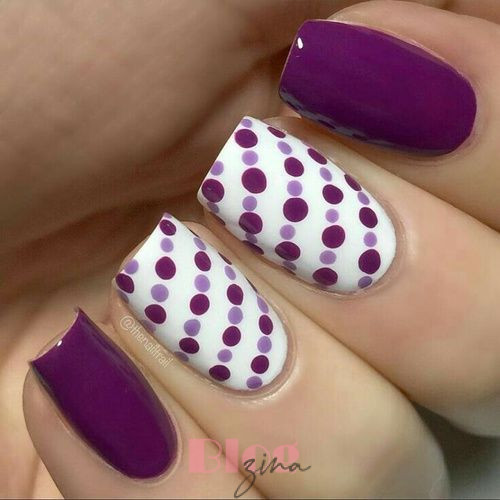
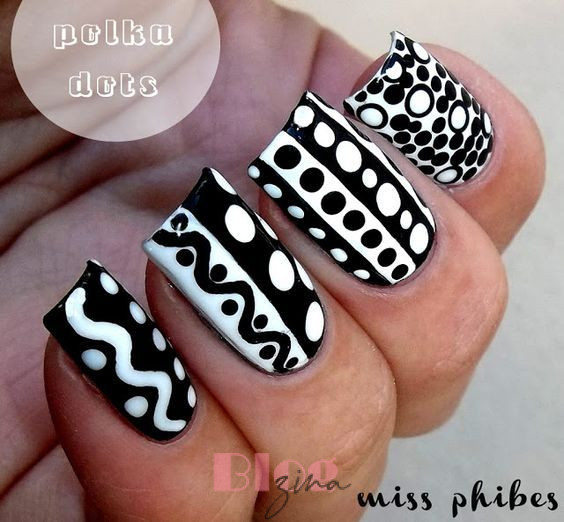
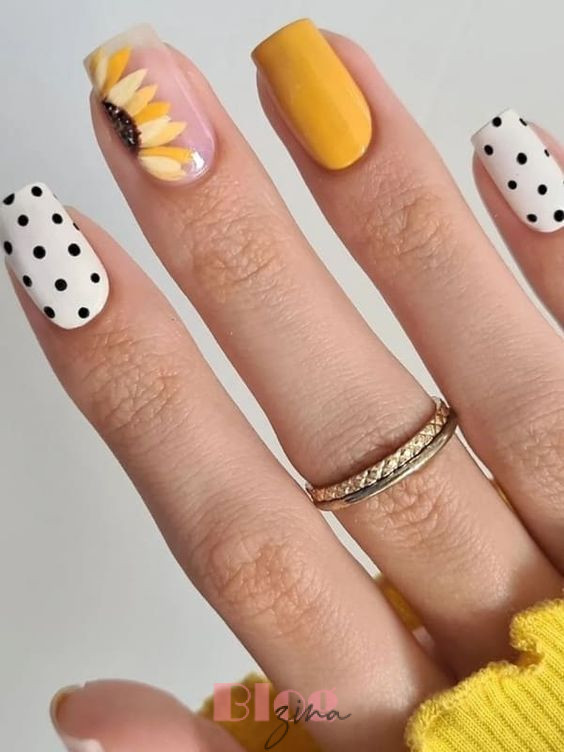
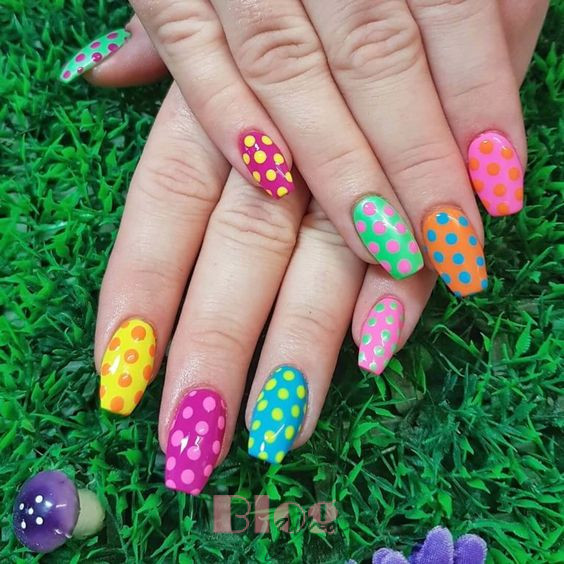
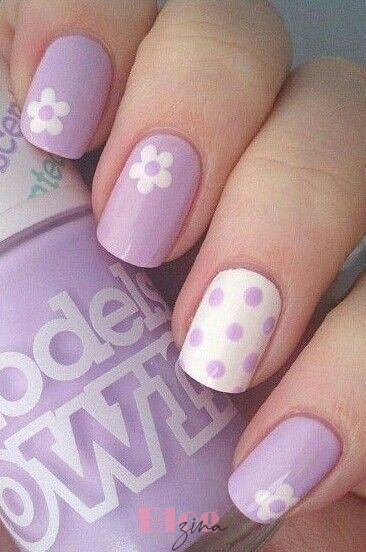
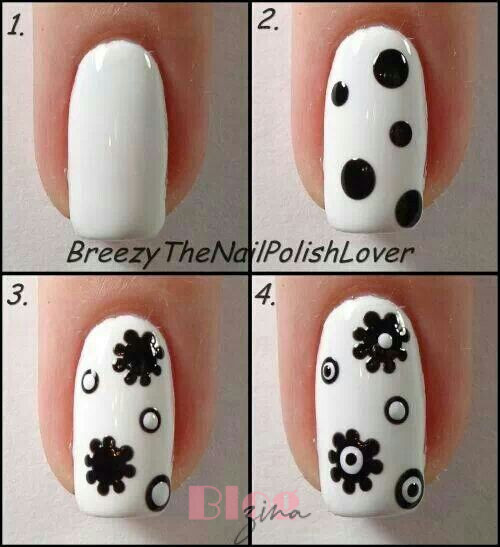
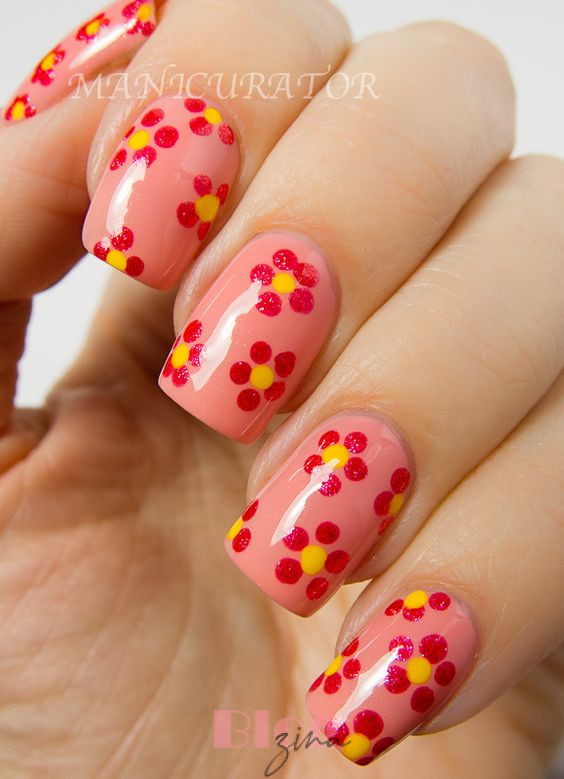
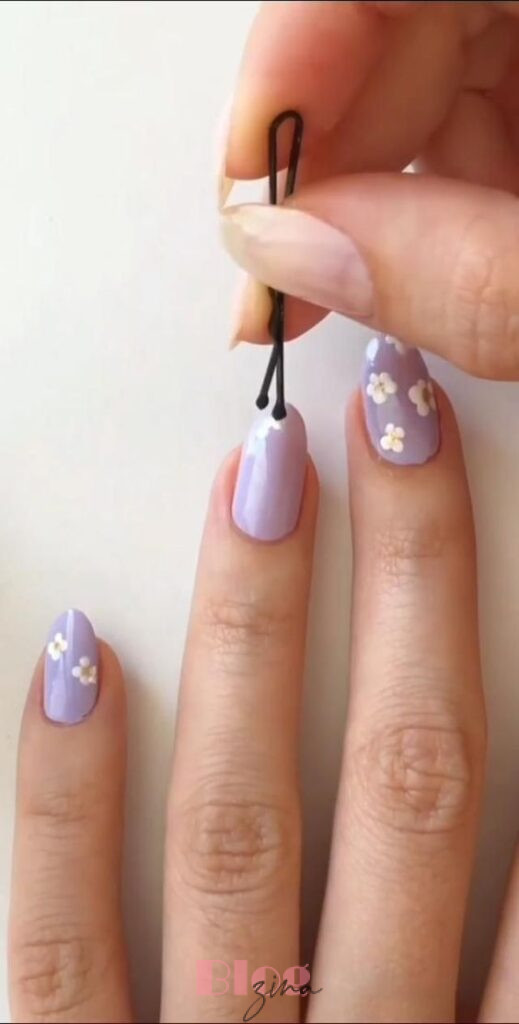
The Classic Polka Dots
Polka dots are a timeless favorite and an excellent choice for beginners. Here’s how to create them:
- Base Coat: To protect your nails, apply a clear base coat.
- Base Color: Choose a color for your base and apply one or two coats, letting each coat dry completely.
- Dots: Find a household item with a round tip like a bobby pin or the end of a makeup brush. Dip it into a contrasting nail polish color and gently press it onto your nails to create dots. Space them evenly.

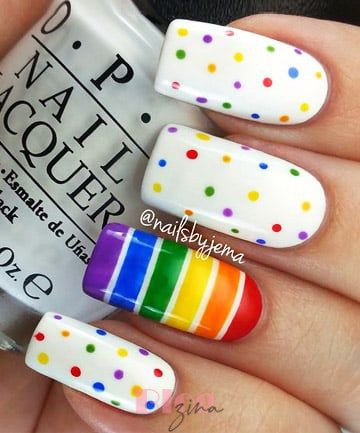


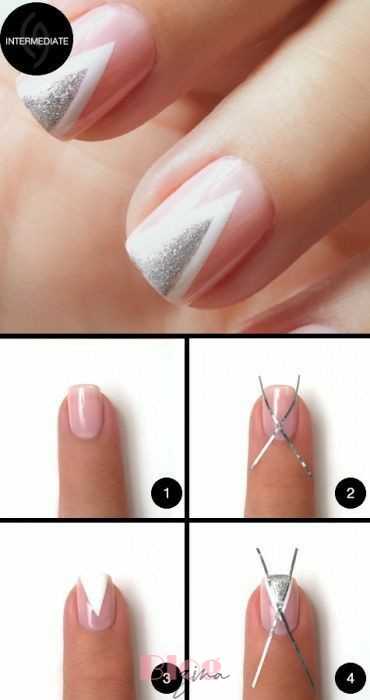
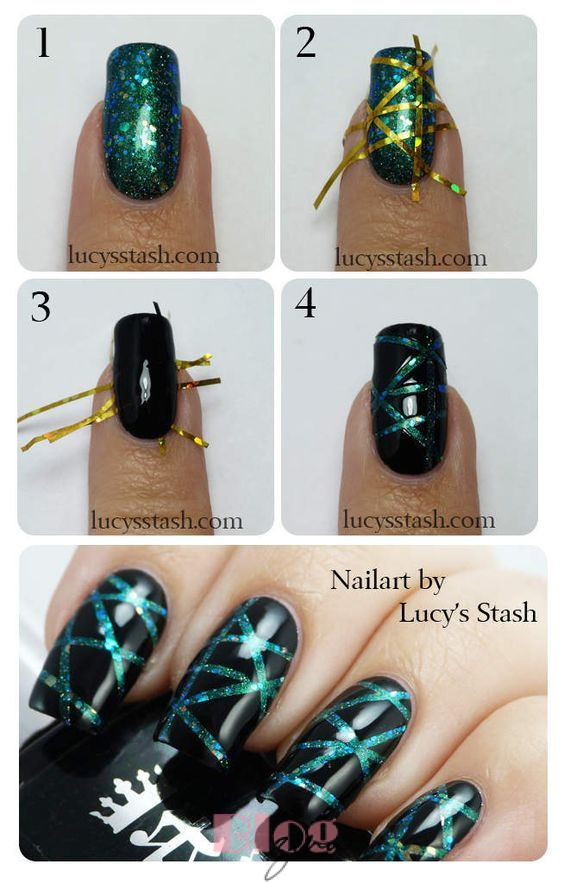
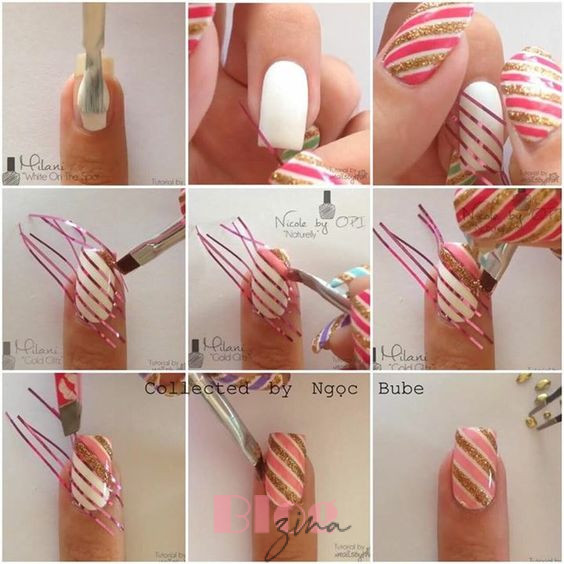
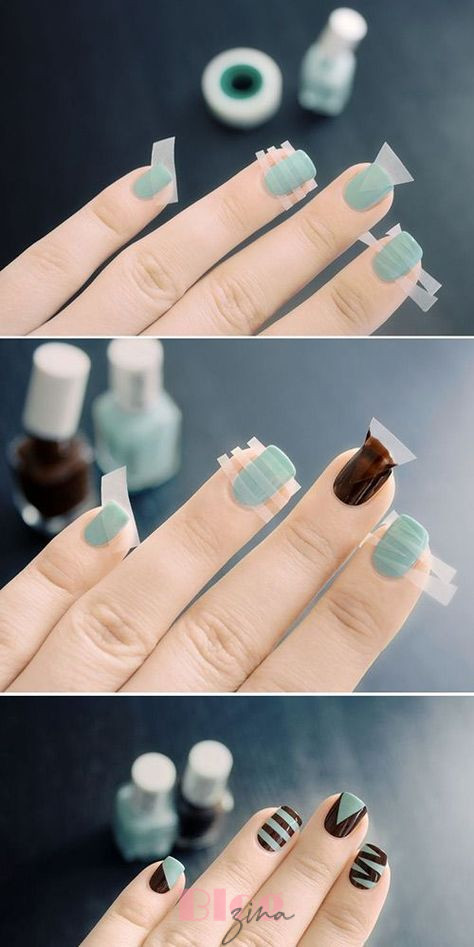
Striped Nails
Stripes are a chic and straightforward design choice:
- Base Coat: Begin by applying a clear base coat.
- Base Color: Apply your base color and let it dry.
- Stripes: For stripes, use a piece of scotch tape. Apply it to your nails in a stripe pattern, exposing some areas. Then, paint over the exposed areas with a contrasting color. Once dry, carefully remove the tape.
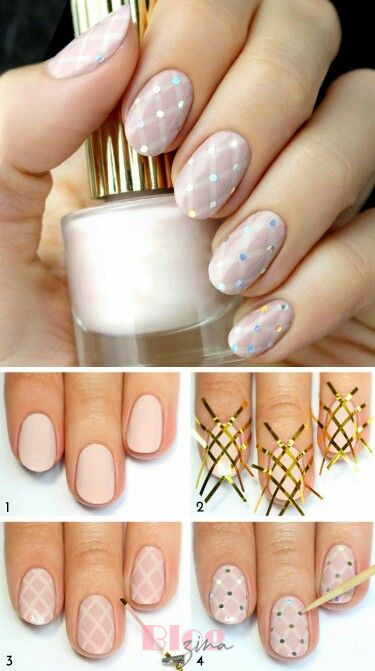
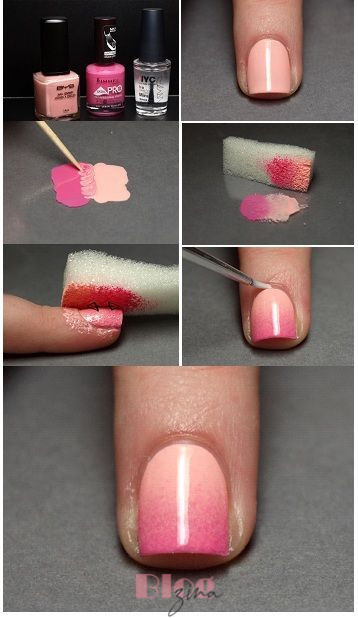
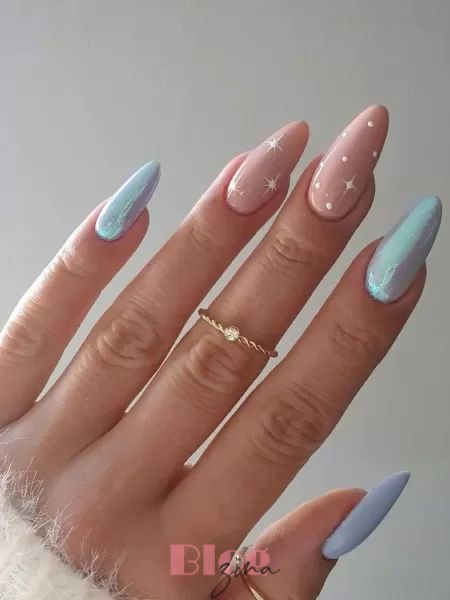
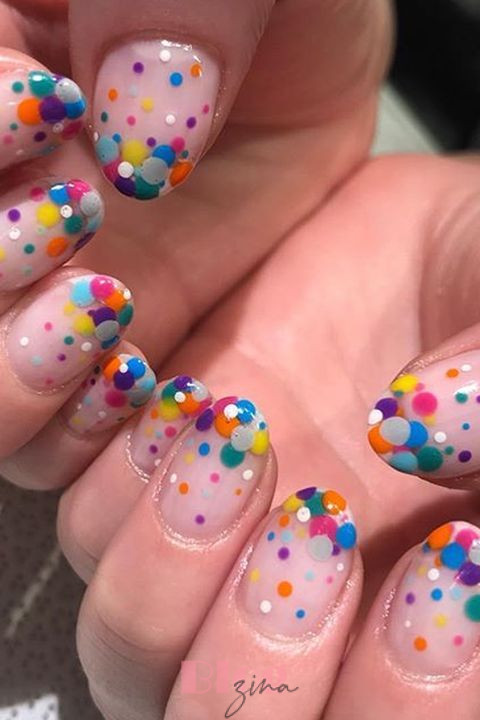
Glittery Accents
Adding some sparkle to your nails is a surefire way to make them stand out:
- Base Coat: Begin with a clear base coat.
- Base Color: Apply your base color and let it dry.
- Glitter: You can use a glittery polish or even loose glitter. Apply it to your nails while the base color is wet for a dazzling effect.
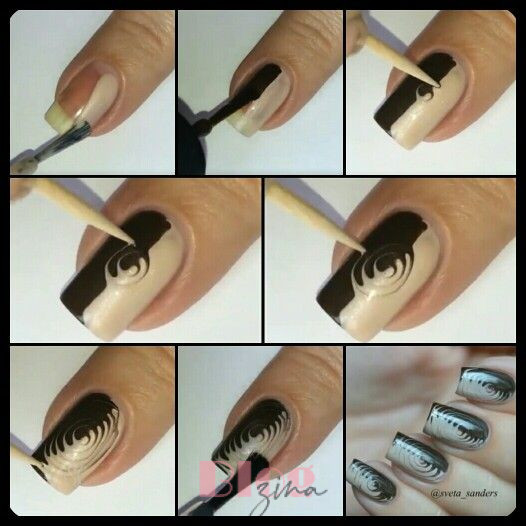
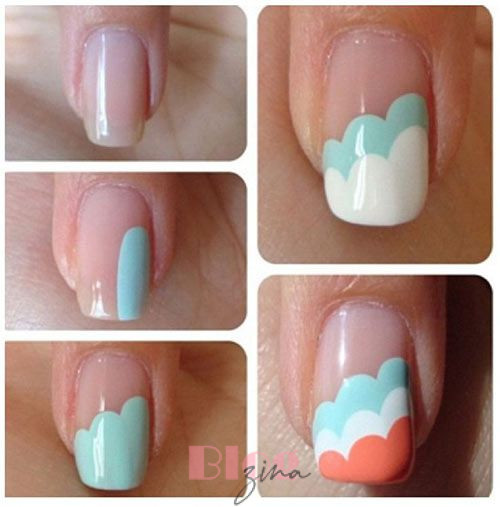
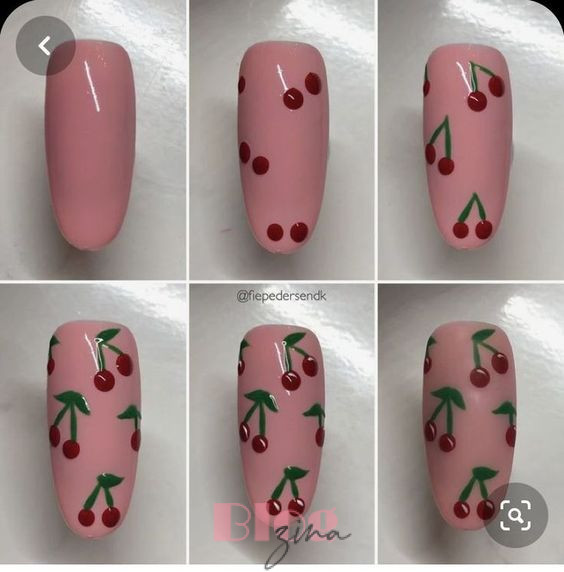
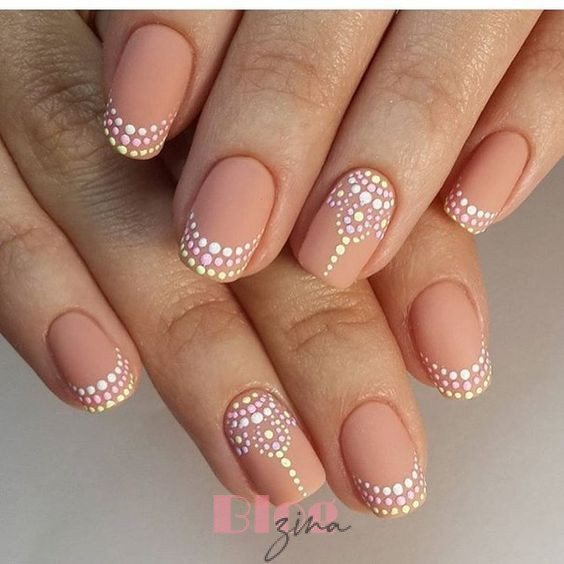
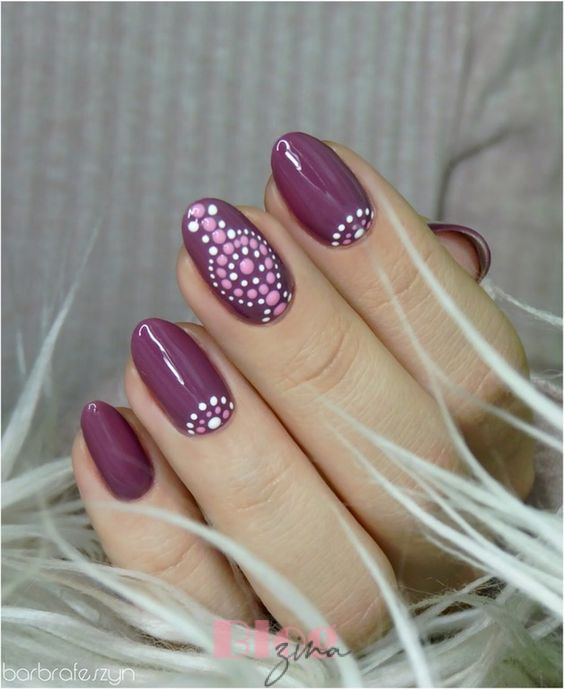
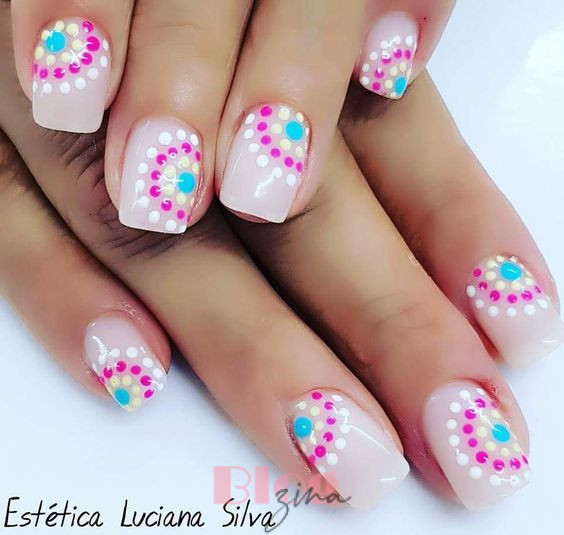
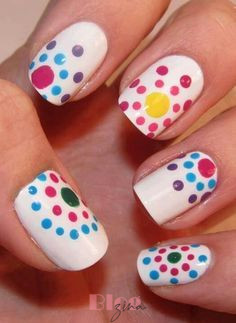
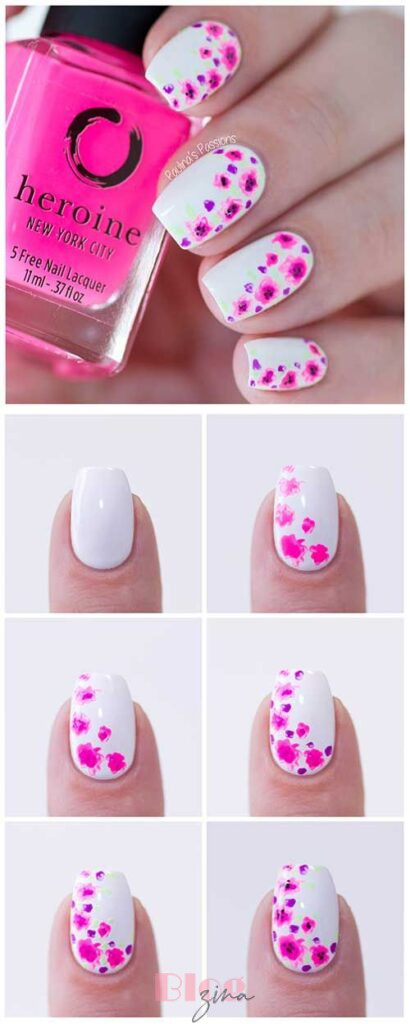
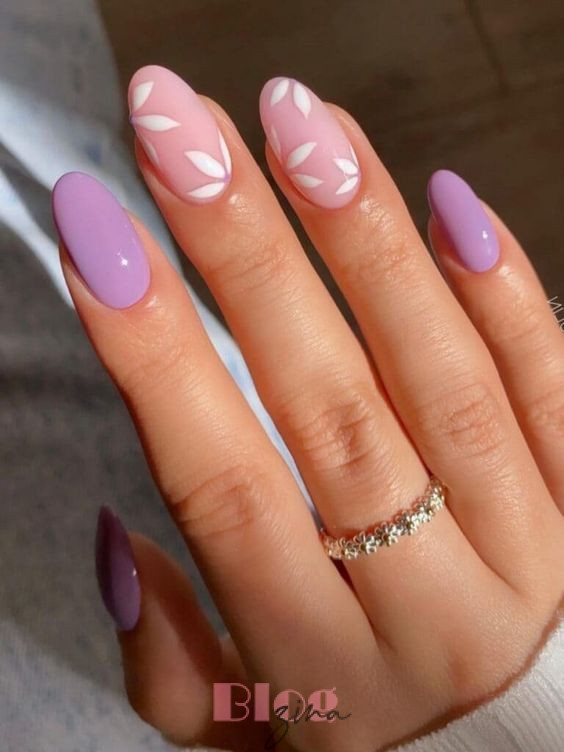
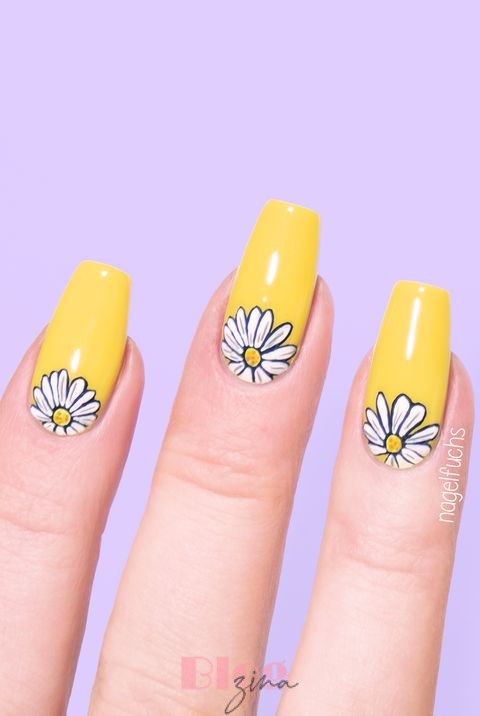
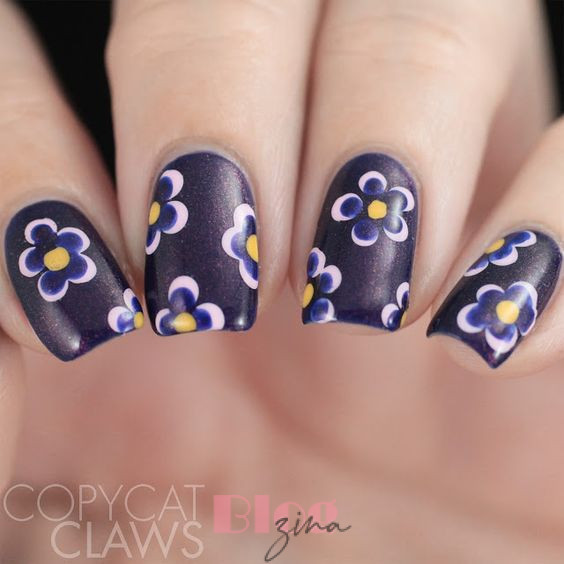
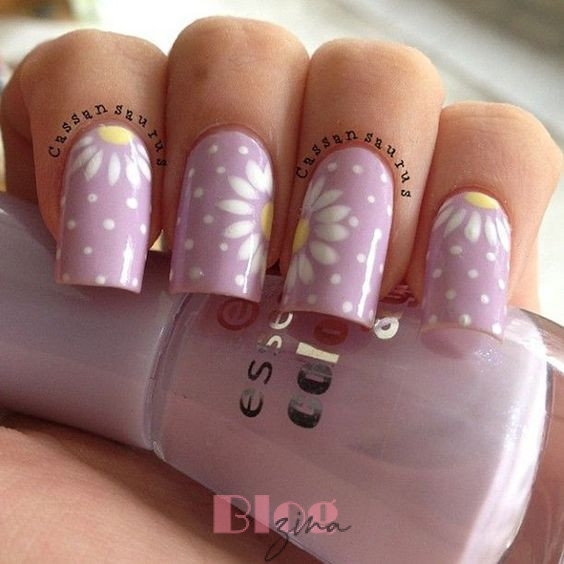
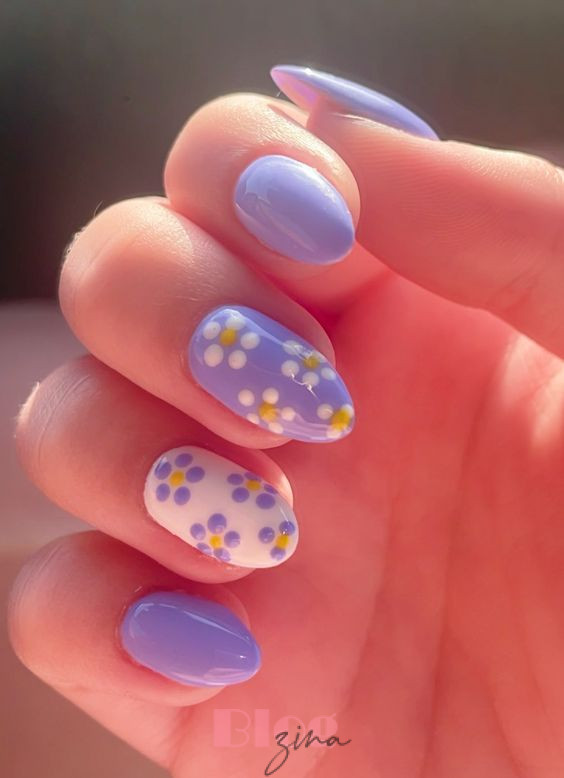
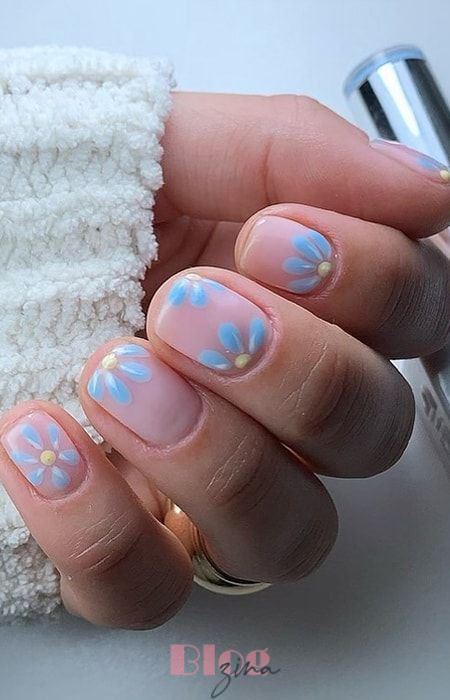
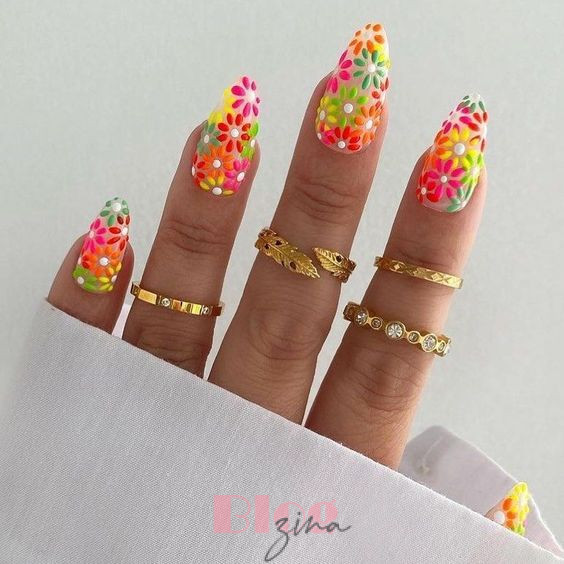
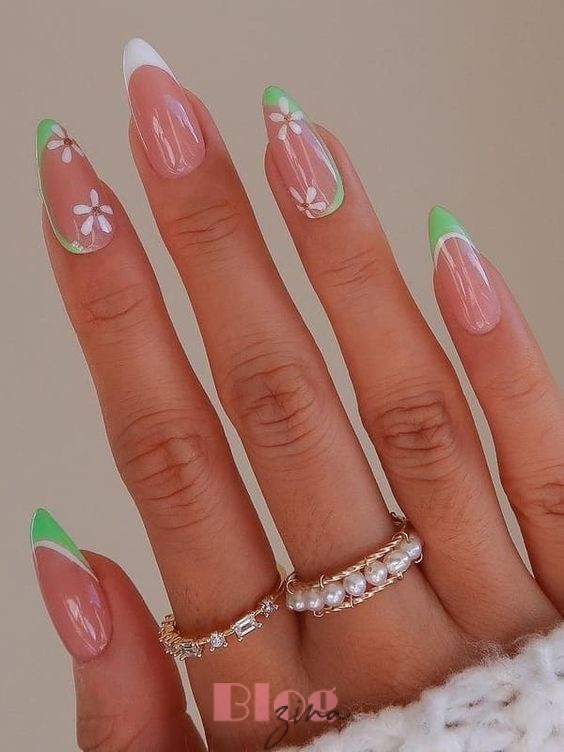
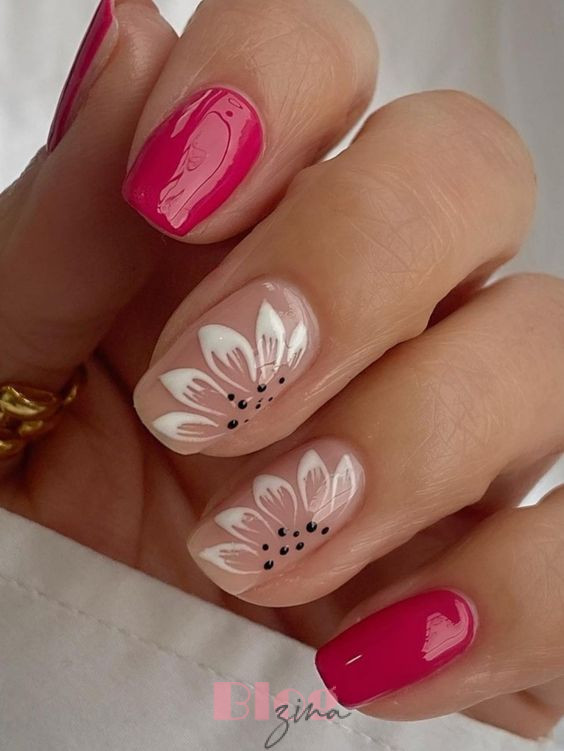
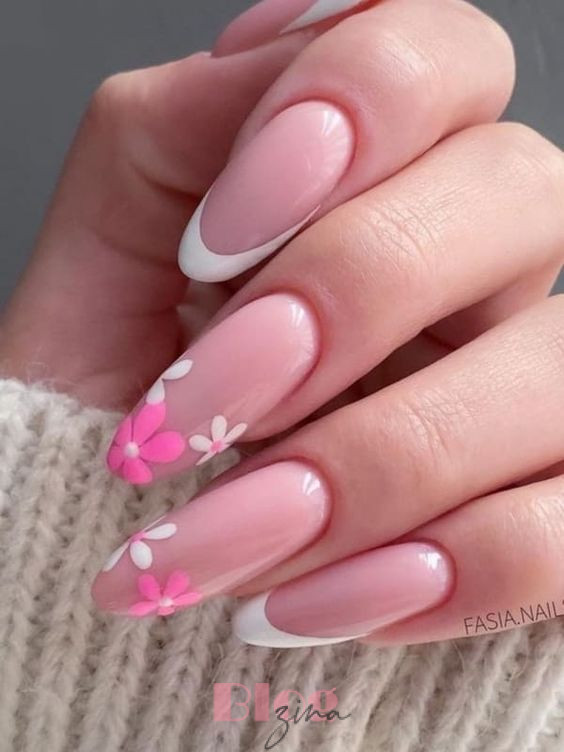
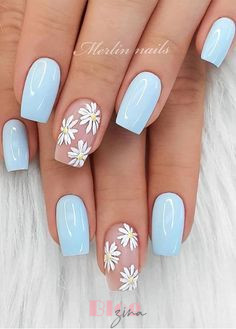
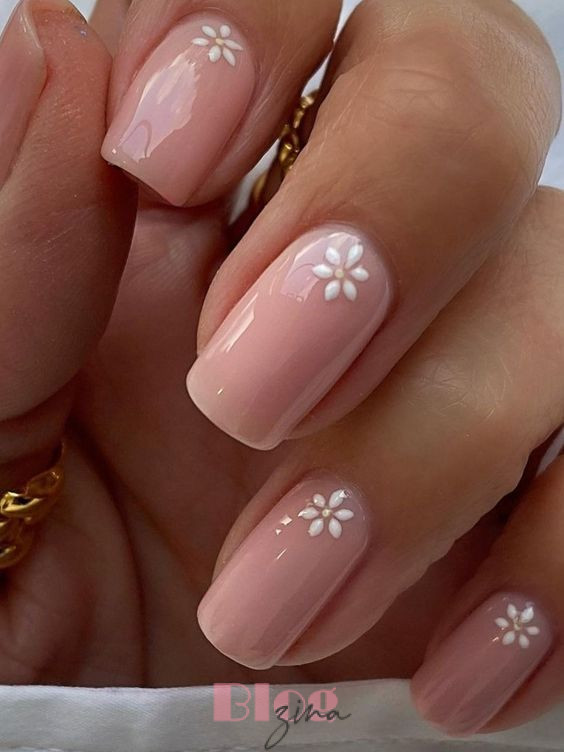
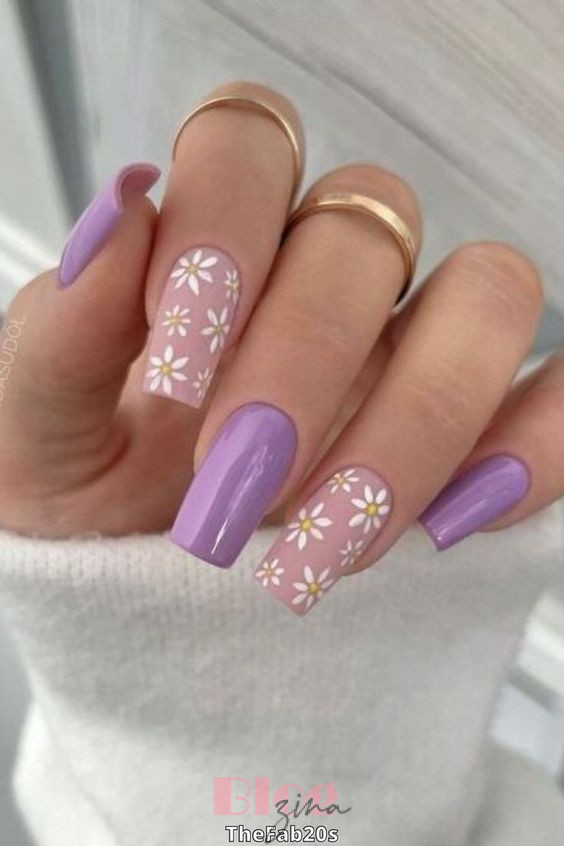
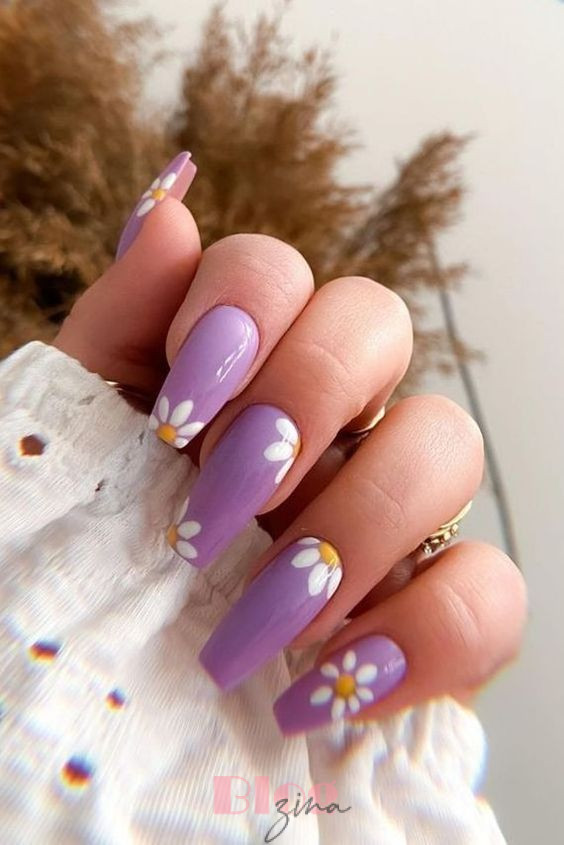
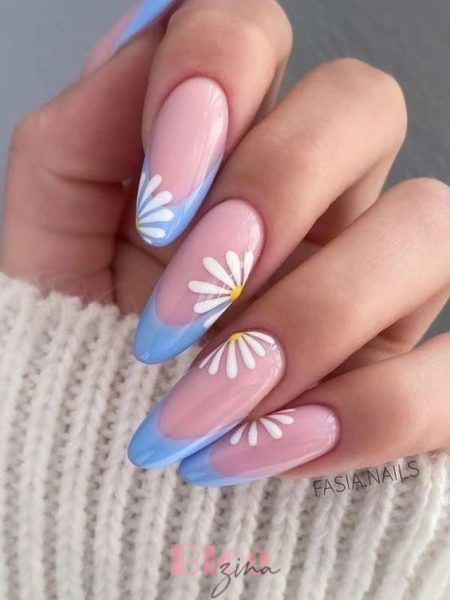
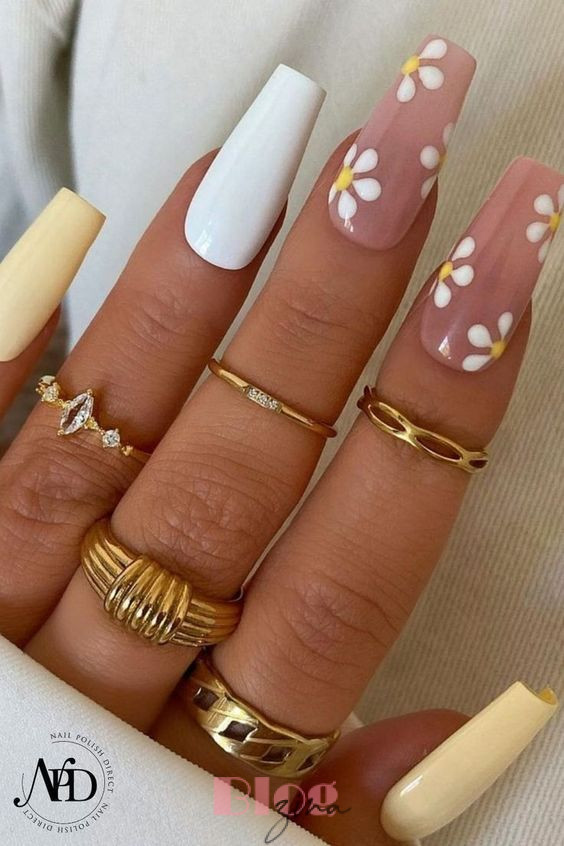
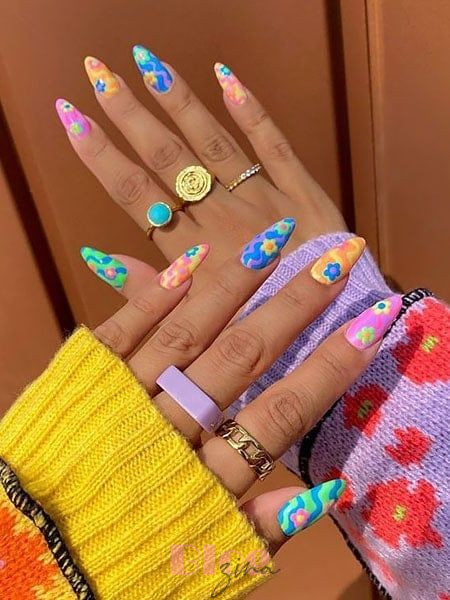
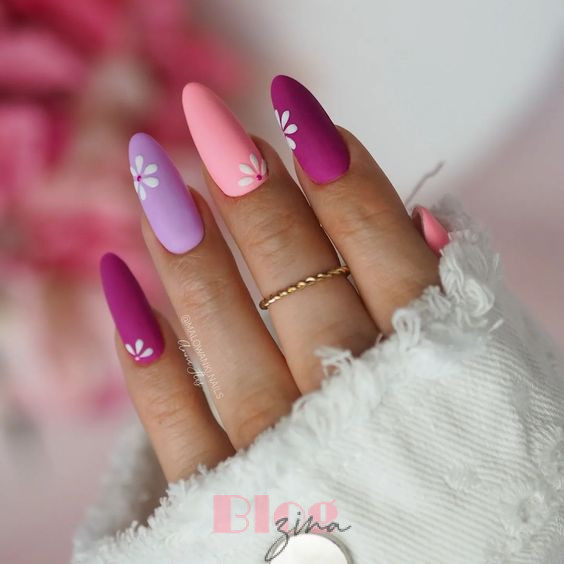
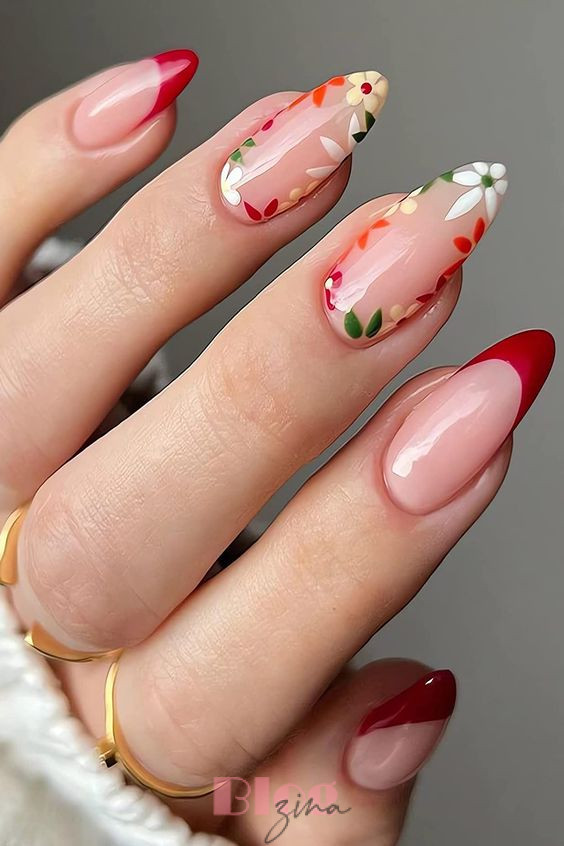
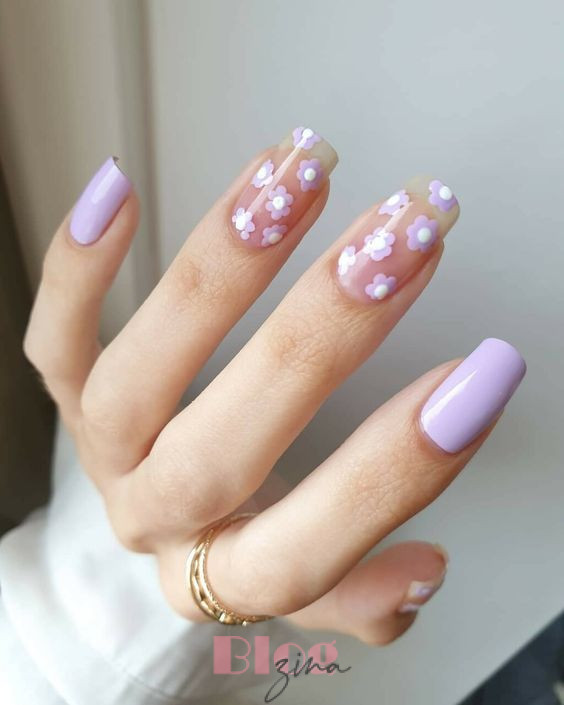
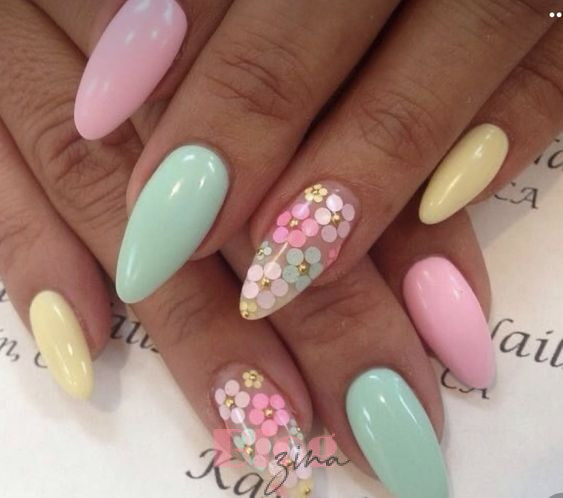
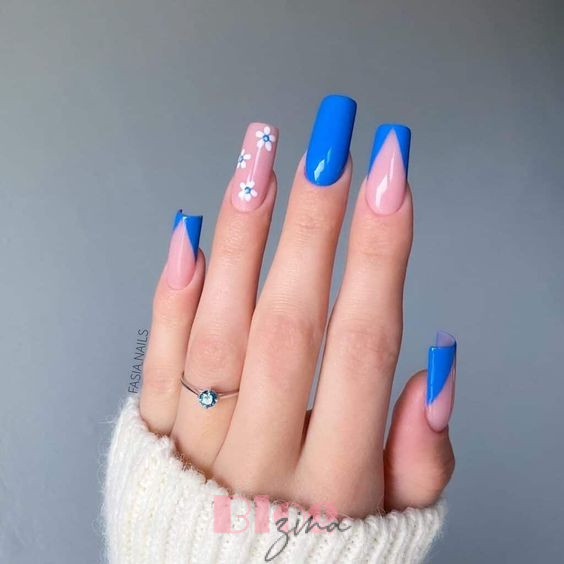
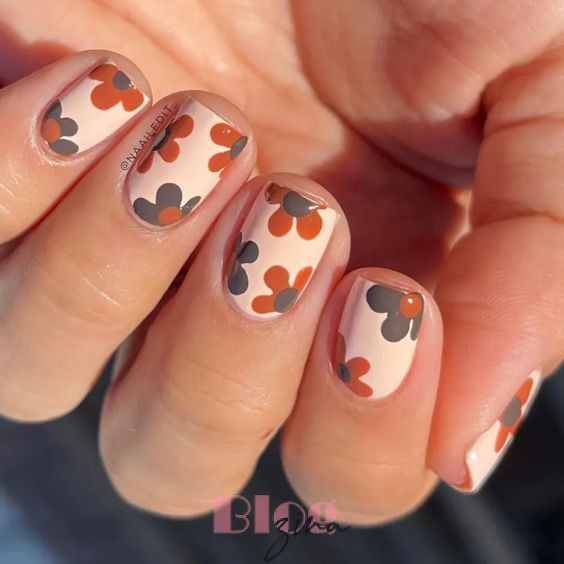
Floral Designs
Creating simple flowers on your nails is easier than you might think:
- Base Coat: Always start with a clear base coat.
- Base Color: Apply your base color and let it dry.
- Flowers: Use a toothpick or the end of a paintbrush to create flower petals with a contrasting nail polish color. In the center, add a small dot of another color. Voilà! You have beautiful floral nails.


Nail Art Tips and Tricks
- Household Items: Get creative with household items like toothpicks, bobby pins, or even the tip of a ballpoint pen to create various nail art designs.
- Maintenance: Apply a top coat to protect the pattern and prevent chipping to make your nail art stay longer.
- Experiment: Feel free to experiment with colors and patterns. Nail art is all about self-expression, so have fun with it!
If you are looking for love dp to use as profile picture on whatsapp, we have 100+ images to use.
Adding Accents without Tools
Using Toothpicks
Toothpicks aren’t just for cleaning teeth! They’re excellent for creating intricate details or picking up small embellishments.
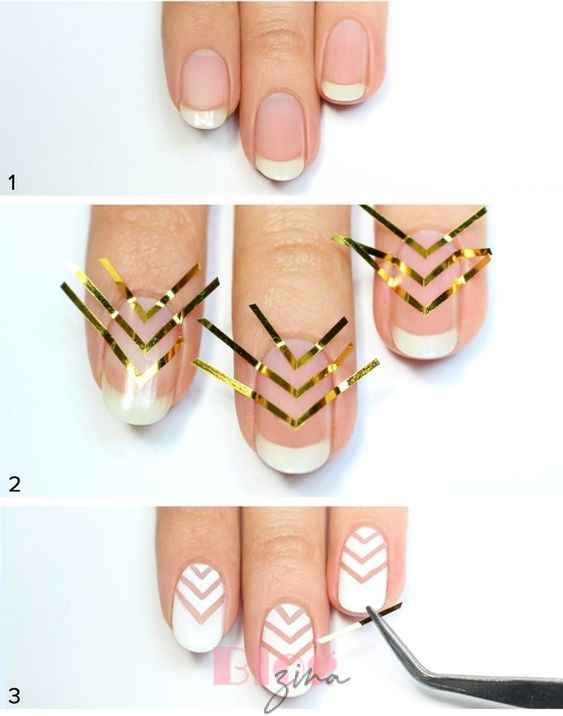
Scotch Tape Magic
Transform plain nails into a work of art with the help of scotch tape. Create crisp lines and shapes with ease.
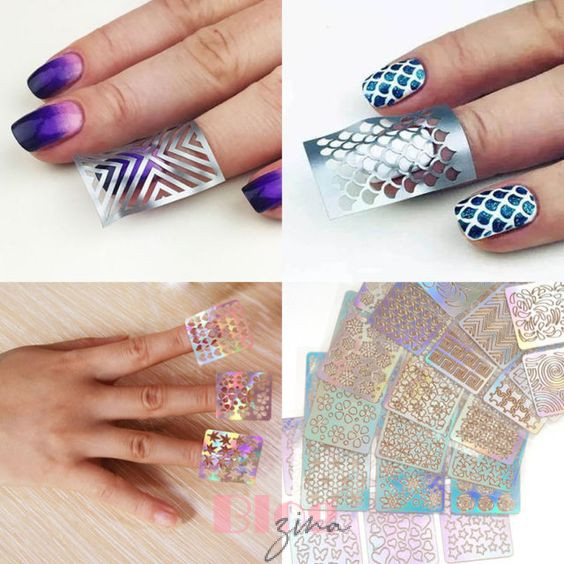
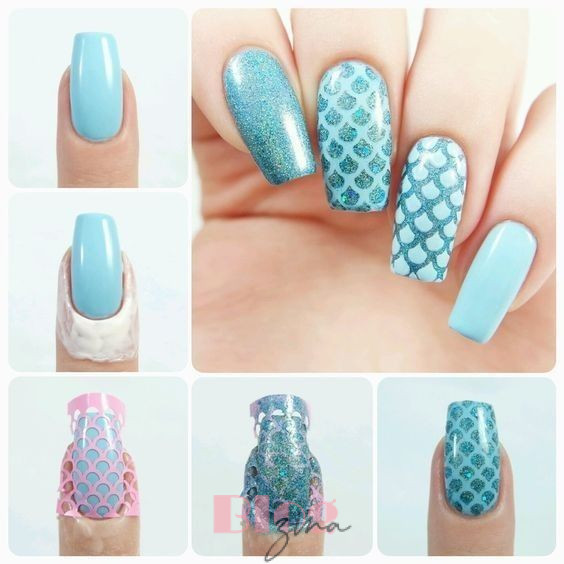
Sticker Stencils
If free-handing isn’t your forte, sticker stencils are a game-changer. Place them on your nails and paint over them for flawless designs.
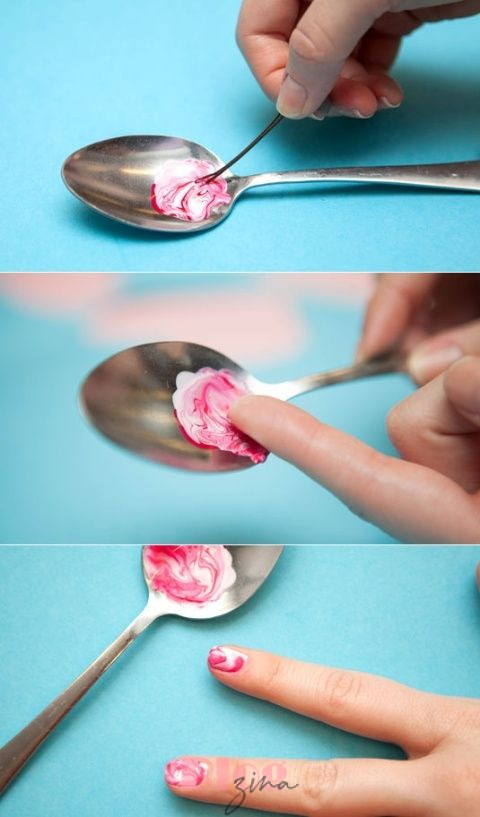
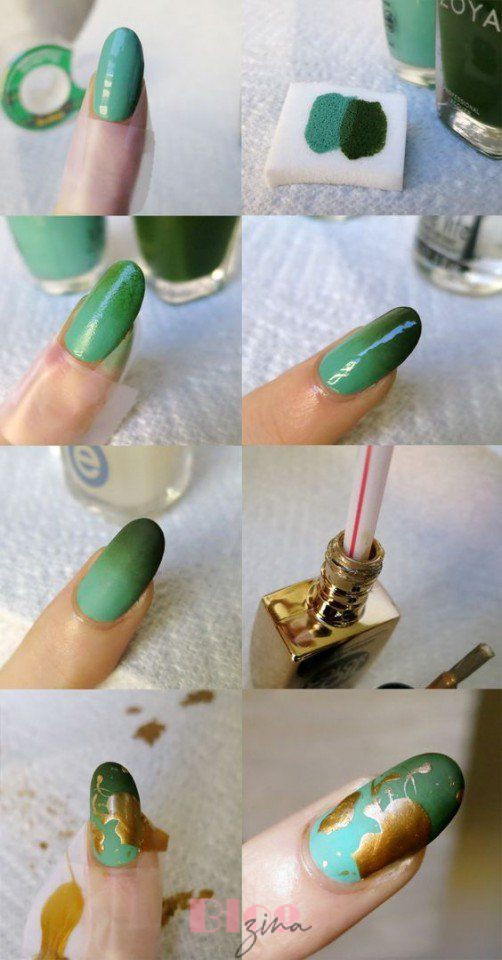
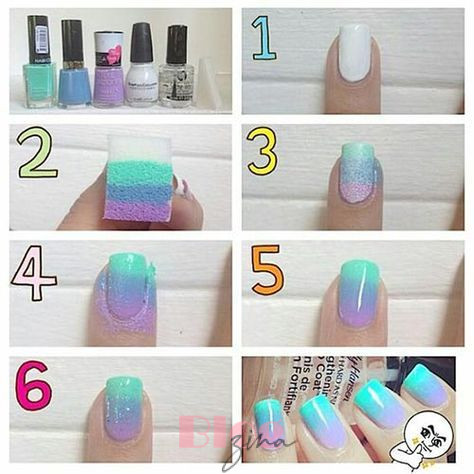
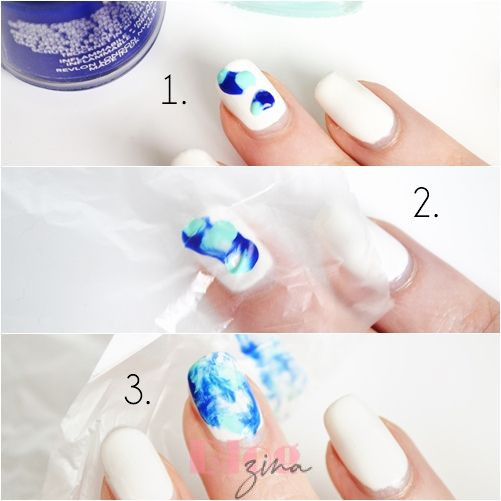
The Plastic Bag Trick
For a marbled effect, crumple up a plastic bag and dab it with a contrasting color on your nail. It’s a mesmerizing technique that requires no special tools.
Securing Your Artwork
When you’re happy with your design, let it dry completely before proceeding to the next stage. This guarantees that your hard work goes smoothly.
Top Coats and Finishing Touches
Apply a top coat to seal your artwork and add a beautiful shine. This step also protects your nail art from chipping, ensuring it lasts longer.
Caring for Your Nail Art
Apply a top coat every few days to keep your nail art looking fresh. Avoid using your nails as tools; consider wearing gloves when doing chores.
Troubleshooting Tips for Beginners
Mistakes happen, but they’re no reason to panic. For precise touch-ups, use a cotton swab dipped in nail polish remover.
Showcasing Your Creations
Share your nail art journey on social media platforms or with friends and family. You might inspire someone else to dive into DIY nail art.
Getting Inspired for Next Time
The possibilities are endless when it comes to nail art. Get inspired by nature, fashion, or even your favorite movies. The more you experiment, the more confident you’ll become.
Safety Considerations
Always ensure you’re working in a well-ventilated area. Remove the polish immediately if you experience any irritation, and seek medical advice.
Benefits of DIY Nail Art
DIY nail art is a form of self-expression and creativity where individuals design and decorate their own nails using various techniques, colors, and patterns. It allows people to showcase their unique style and personality through their nails.
3. Growing Popularity of DIY Nail Art
DIY nail art has grown in popularity in recent years, mainly to social media platforms such as Instagram and Pinterest, where fans post their nail creations, spurring inspiration globally.
2. Cost-Effective Beauty
Saving Money on Salon Visits
One of the most significant benefits of DIY nail art is the cost savings. Regular salon visits for manicures and pedicures can quickly add up. By doing your nail art at home, you can enjoy beautiful nails without breaking the bank.
Affordable Nail Art Supplies
Nail art supplies such as nail polishes, brushes, and decorative elements are readily available at affordable prices. You can build an extensive collection of colors and tools without spending a fortune.
3. Creative Expression
Personalized Nail Designs
DIY nail art allows you to create nail designs that are uniquely yours. You can experiment with colors, shapes, and themes to match your mood, outfit, or special occasions.
Exploring Different Styles
With DIY nail art, you are not limited to one style. You can switch from elegant and sophisticated designs to bold and eccentric ones, giving you the freedom to explore various looks.
4. Relaxation and Stress Relief
Therapeutic Benefits of Nail Art
Engaging in DIY nail art can be a therapeutic experience. The process of carefully applying nail polish and creating intricate designs can help reduce stress and promote relaxation.
Mindfulness and Creativity
Nail art requires focus and attention to detail, making it an excellent activity for practicing mindfulness. It also boosts creativity as you conceptualize and execute your nail designs.
5. Skill Enhancement
Learning Nail Art Techniques
As you delve into DIY nail art, you’ll acquire new skills and techniques. From simple designs to complex nail artistry, you can continuously challenge yourself to improve.
Boosting Artistic Skills
Nail art is an art form in itself. It enhances your artistic abilities, from color coordination to precision in applying nail polish.
6. Bonding Time
DIY Nail Art with Friends and Family
Doing DIY nail art can be a bonding experience. Gather your friends or family for a nail art session, fostering closer relationships through creativity.
Building Relationships
You can also connect with other nail art enthusiasts online or in local nail art communities, expanding your social circle.
7. Healthy Nails
Proper Nail Care and Maintenance
DIY nail art encourages proper nail care, including trimming, filing, and moisturizing. This leads to healthier, stronger nails.
Avoiding Harmful Chemicals
You have control over the products you use, reducing exposure to potentially harmful chemicals sometimes found in nail salons.
8. Self-Confidence Boost
Flaunting Your Unique Nail Art
DIY nail art allows you to showcase your creations confidently, boosting your self-esteem as you receive compliments on your unique nail designs.
Feeling Good About Yourself
Taking time for self-care and creative expression through nail art can leave you feeling happier and more confident overall.
9. Eco-Friendly Choice
Reducing Environmental Impact
By using eco-friendly and sustainable nail art practices, such as choosing non-toxic polishes and reusable nail accessories, you can contribute to reducing your environmental footprint.
Sustainable Nail Art Practices
Embracing sustainability in nail art can inspire others to do the same and create a positive impact on the planet.
10. Social Media Showcase
Sharing DIY Nail Art Online
The online nail art community is vibrant and supportive. Sharing your creations on social media can lead to recognition, inspiration, and even opportunities.
Community and Recognition
Being part of a nail art community provides a sense of belonging and recognition for your talent, no matter your skill level.
11. DIY Nail Art Tips
Essential Tools and Supplies
To get started with DIY nail art, you’ll need basic supplies like nail polish, nail files, and nail art brushes. Consider investing in a nail lamp for faster drying times.
Beginner-Friendly Techniques
If you’re new to nail art, start with simple techniques like nail stamping or using nail stickers. As you gain confidence, you can venture into more complex designs.
12. Challenges and How to Overcome Them
Patience and Practice
Nail art requires patience and practice. Don’t get discouraged by initial mistakes; they’re part of the learning process.
Learning from Mistakes
Each nail art attempt is a learning opportunity. Analyze what went wrong and improve for the next design.
13. Safety Precautions
Protecting Your Skin and Nails
Be mindful of protecting your skin and nails from harsh chemicals. Use nail polish removers and products that are gentle on your nails and cuticles.
Allergies and Sensitivities
To avoid skin responses, choose hypoallergenic nail products if you have allergies or sensitivities.
14. Inspiration and Resources
Online Tutorials and Blogs
There is a wealth of online tutorials and blogs dedicated to nail art. These resources can provide inspiration, tips, and step-by-step guides.
Nail Art Magazines and Books
Explore nail art magazines and books for in-depth knowledge and inspiration from professional nail artists.
Conclusion
We’ve shown you that creating beautiful easy nail art designs at home for beginners without tools and incredibly fun. You don’t need fancy tools; with some creativity and household items, you can achieve stunning nail designs. So, unleash your inner artist and give it a try. Your nails will thank you for it!